If you exist in the Engineering world of React, then you’ve likely heard about React 19’s new compiler that promises to optimize your code for you (to a certain extent). I was really excited about it when I heard so I couldn’t wait to set it up. I use Vite these days rather than Create React App, due to Vite being a little faster and easier of a dev environment. Ready to Set up React 19 Compiler in a Vite Typescript Project? Let’s get to it!
Node Version 20 or higher
To start, you should use Node version 20. If you don’t use Node Version Manager, I highly recommend setting it up. Here’s a great article from FreeCodeCamp which I love. Open your projects directory in VSCode and open up a new terminal. First start with git init in the terminal.
git initOnce you have nvm set up go ahead and install node version 20 with:
nvm install 20Next be sure you’re using that version of node with this command:
nvm use 20Create the Vite + React + Typescript project
Let’s create a brand new project so we can dip our toes into this new feature from React. In the terminal run the following command. We’re titling our project ‘test-react-compiler’ everything else is to set up the react typescript template provided by Vite.
npm create vite@latest test-react-compiler --template react-tsNeed help setting up react testing library in a Vite, React project? Look no further cuz we’ve got you covered.
Upgrade to React 19 Beta
Now that we have a brand new project, let’s upgrade it to use React 19 which is currently in Beta. To do that we need to update both read and react-dom. The following command takes care of this for you:
npm install react@beta react-dom@betaCheck your codebase for compiler compatibility
This check is going to be useful for existing codebases, but running it on a brand new Vite project will give you an idea of what you’ll need to do when you incorporate React Compiler into an already existing project. This check is ensuring that your codebase is going to be compatible with the React compiler it’s checking for:
- How many components can be successfully optimized: (higher is better)
- For
<StrictMode>usage: having this enabled and followed means a higher chance that the Rules of React are followed - For incompatible library usage: known libraries that are incompatible with the compiler
Go ahead and run the command
npx react-compiler-healthcheck@latest If you’ve been following along thus far, then you should get the following results in your terminal:

Install and set up react compiler eslint plugin
React 19 suggests setting up this ESLint plugin to catch issues that might cause the compiler to break. First you’ll need to install the plugin with the following command:
npm install eslint-plugin-react-compilerNext, in the .eslintrc.cjs file that comes with the Vite template, add the following bolded elements to the file. Notice that in the Plugins array, we’ve set the eslint-plugin-react-compiler to be the first plugin. Next, in the rules, we’ve set the react-compiler/react-compiler: ‘error’ property to go first as well.
module.exports = {
  root: true,
  env: { browser: true, es2020: true },
  extends: [
    'eslint:recommended',
    'plugin:@typescript-eslint/recommended',
    'plugin:react-hooks/recommended',
  ],
  ignorePatterns: ['dist', '.eslintrc.cjs'],
  parser: '@typescript-eslint/parser',
  plugins: ['eslint-plugin-react-compiler', 'react-refresh'],
  rules: {
    'react-compiler/react-compiler': "error",
    'react-refresh/only-export-components': [
      'warn',
      { allowConstantExport: true },
    ],
  },
}
Any issues the react compiler eslint plugin finds will be skipped by the compiler. This means that any component with issues flagged by the eslint plugin won’t be optimized by the compiler, but once you fix the issues, it should work just fine.
Don’t miss this article on how to set up ESlint with Prettier for WordPress coding standards.
Install and set up babel react compiler
Next we need to install and set up the actual compiler from Babel. First go ahead and install the compiler.
npm install babel-plugin-react-compilerNext we’ll go into the vite.config.ts file and make the updates bolded out below.
/// <reference types="vite/client" />

import { defineConfig } from 'vite'
import react from '@vitejs/plugin-react'
// @ts-expect-error - no TS types yet for beta test.
import PluginObject from 'babel-plugin-react-compiler'

// https://vitejs.dev/config/
export default defineConfig({
  plugins: [[PluginObject],react()],
})
As you can see in the above code, we’re importing the PluginObject from the ‘babel-plugin-react-compiler’ and we’re setting this PluginObject as the first plugin to run before react().
Testing it out
Now that we’ve done all this set up let’s test it out to see if it runs. Always begin with an npm install like so:
npm iNext let’s build our files with:
npm run buildIf all went smoothly, then you should see no build errors and the project should build just fine.
And finally, let’s see how it looks in the browser.
npm run devWell if it’s all set up and running now, how do we know if it’s working? Let’s create a new file with a stupid function who’s only job is calculating numbers in an expensive way. I’ll call the component, NoMemo:
In my src directory I’ll create a NoMemo.tsx file and add the following. This code is provided by the W3 tutorial on useMemo:
import { useState } from 'react';

const expensiveCalculation = (num: number) => {
	console.log('Calculating...');
	for (let i = 0; i < 1000000000; i++) {
		num += 1;
	}
	return num;
};

const NoMemo = () => {
	const [count, setCount] = useState(0);
	const [todos, setTodos] = useState(['one']);
	//const calculation = useMemo(() => expensiveCalculation(count), [count]); - no change
	const calculation = expensiveCalculation(count);

	const increment = () => {
		setCount((c) => c + 1);
	};
	const addTodo = () => {
		setTodos((prev) => [...prev, 'New todo']);
	};
	return (
		<div>
			<div>
				<h2>My Todos</h2>
				{todos.map((todo, index) => {
					return <p key={index}>{todo}</p>;
				})}
				<button onClick={addTodo}>Add Todo</button>
			</div>
			<hr />
			<div>
				Count: {count}
				<button onClick={increment}>+</button>
				<h2>Expensive Calculation</h2>
				{calculation}
			</div>
		</div>
	);
};

export default NoMemo
Back in our App.tsx file, I’m going to remove everything from this component and replace it with the NoMemo component:
import './App.css'
import NoMemo from './NoMemo'

function App() {

  return (
    <>
      <NoMemo />
    </>
  )
}

export default App
Next I’m going to ensure I have the React Developer Tools extension (RDT) installed and running in the browser. And I’m going to do a fresh npm run build and npm run dev.
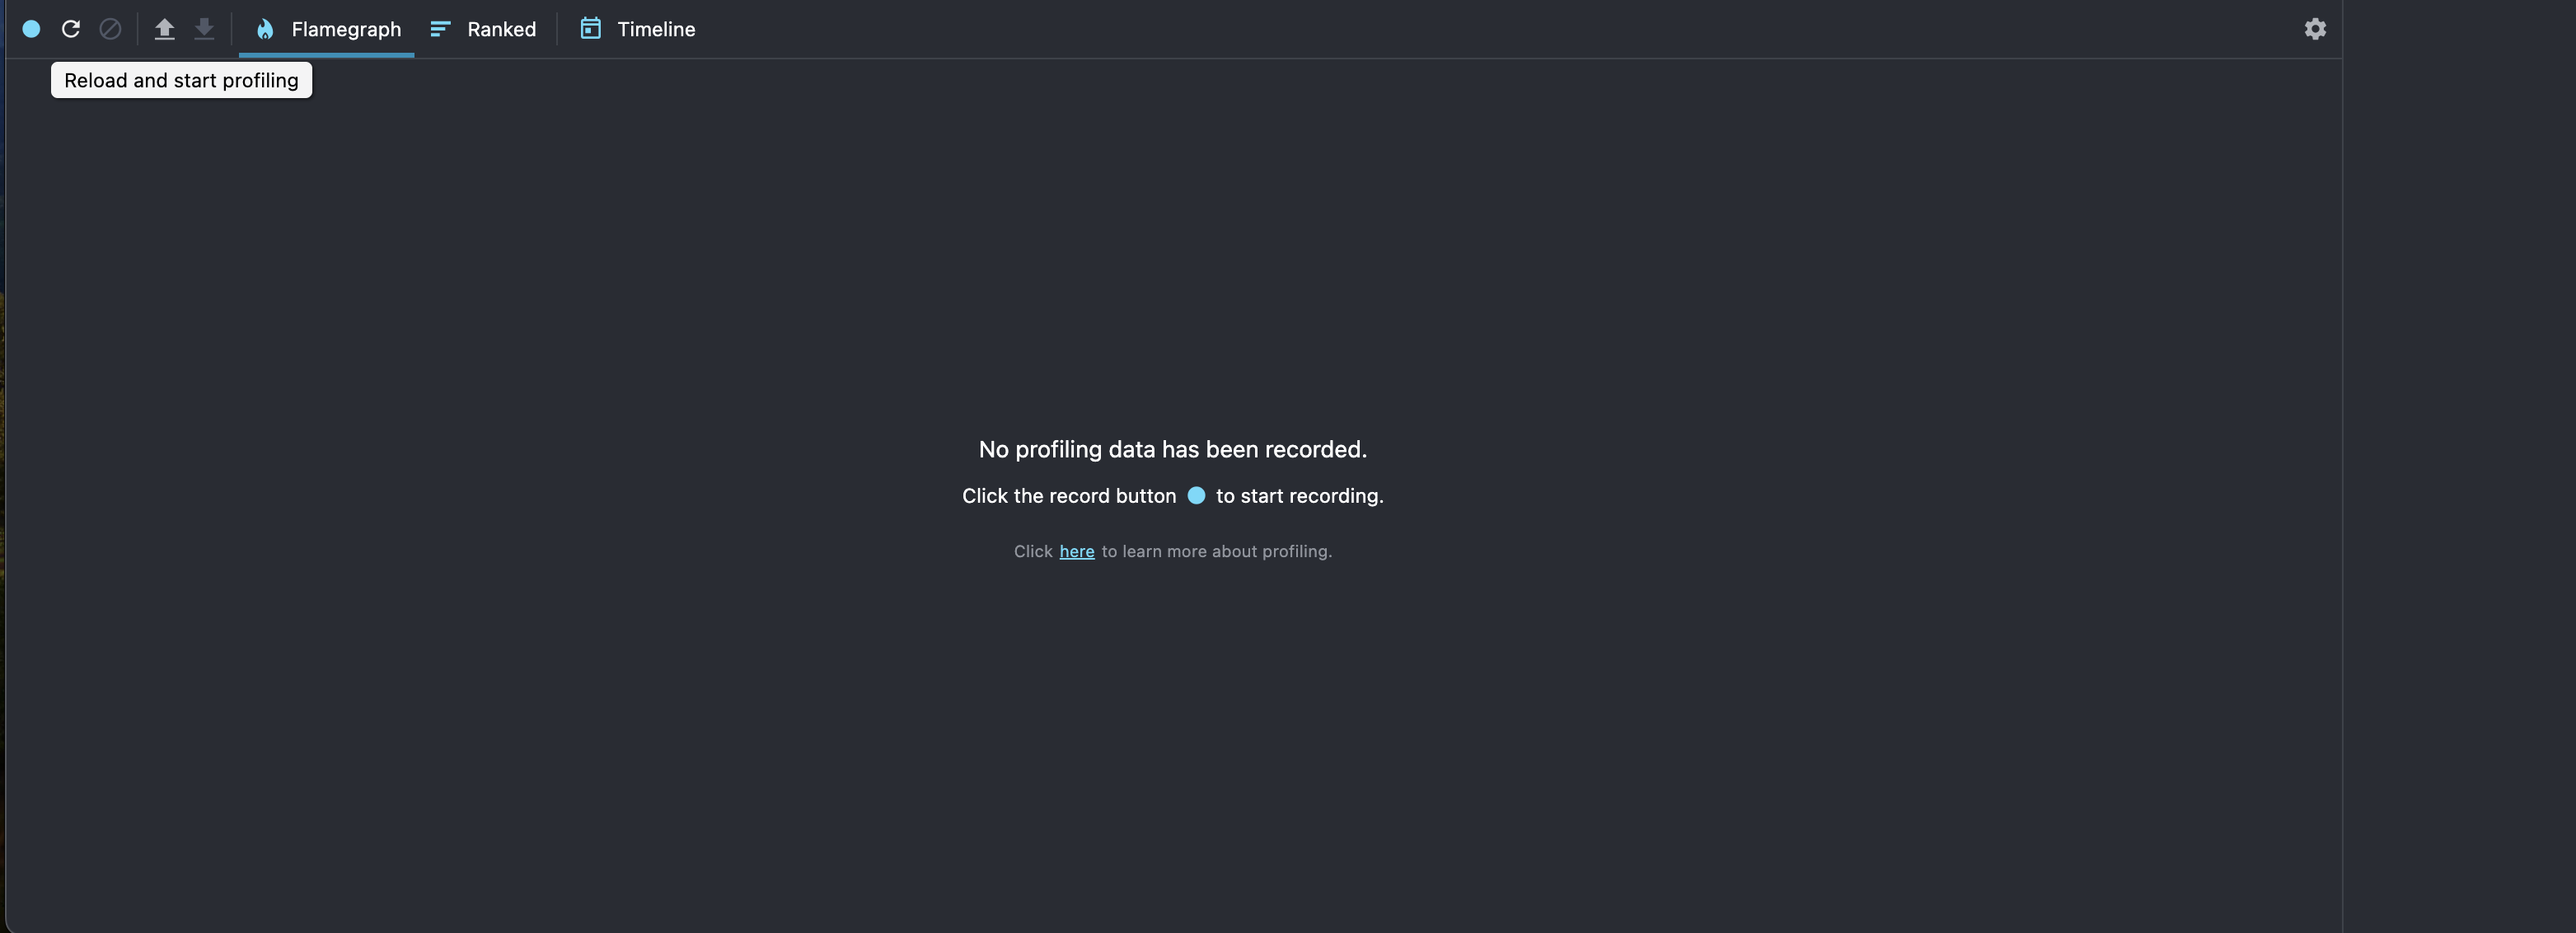
Next, I’ll open up devtools and click on the Profiler Tab from RDT. I’ll click reload and start profiling, then click the record dot, and then in the browser I’m going to click the Count button 3 times.
I end up with a render duration of around 1795ms. I can run through this a few times and it always hangs around this 1795 number.

If you love building React frontends and want to get started building Node backends, you gotta check out this step by step walk through on building a Node App with React.
Reverting changes to test if the set up of React Compiler Beta worked
Now to test if useMemo is working automatically, we can commit these changes and create a new branch to test from.
git checkout -b 'test18'Now we just need to update our react and react-dom packages:
npm install react@latest react-dom@latestNow you just need to remove the changes from the vite.config.ts file like so. (Don’t worry about the eslint file, it’s not going to be important for testing).
/// <reference types="vite/client" />

import { defineConfig } from 'vite'
import react from '@vitejs/plugin-react'

// https://vitejs.dev/config/
export default defineConfig({
  plugins: [react()],
})
Be sure you’r still running node version 20:
nvm use 20Then run npm install:
npm iNow go ahead and run npm run build and npm run start and test the Count button 3 times with the React Profiler on. You should notice a slight 9-10 second increase to 1805.

Now let’s take this one step further and test the NoMemo component with useMemo to see if we get the same kind of optimization that the React Compiler seemed to give us.
Update the NoMemo component to use useMemo
Make the following changes in bold below:
import { useState, useMemo } from 'react';

const expensiveCalculation = (num: number) => {
	console.log('Calculating...');
	for (let i = 0; i < 1000000000; i++) {
		num += 1;
	}
	return num;
};

const NoMemo = () => {
	const [count, setCount] = useState(0);
	const [todos, setTodos] = useState(['one']);
	const calculation = useMemo(() => expensiveCalculation(count), [count]);
	//const calculation = expensiveCalculation(count);

	const increment = () => {
		setCount((c) => c + 1);
	};
	const addTodo = () => {
		setTodos((prev) => [...prev, 'New todo']);
	};
	return (
		<div>
			<div>
				<h2>My Todos</h2>
				{todos.map((todo, index) => {
					return <p key={index}>{todo}</p>;
				})}
				<button onClick={addTodo}>Add Todo</button>
			</div>
			<hr />
			<div>
				Count: {count}
				<button onClick={increment}>+</button>
				<h2>Expensive Calculation</h2>
				{calculation}
			</div>
		</div>
	);
};

export default NoMemo
Next, run npm run build and npm run dev
In the browser, reload the profiler and hit record. Click the count buttons 3 times. You should see that 6-10 second reduction in Render Duration.
And that’s it. Now you know how to set up React Compiler Beta and can see that React Compiler will run the same as useMemo in React 18.
Featured image from: https://www.linkedin.com/pulse/whats-new-react-19-updates-code-examples-ademola-sofolahan–gmtqf/